
How do you pair the remote control with our PRO heated socks?
We have already paired the remote control for your HeatPerformance® PRO heated socks in advance. Normally, you do not need to do anything and can immediately enjoy warm feet. Do you still need to pair the remote control again, for example because you have received a new remote control? Then follow the step-by-step instructions below.
At the moment, there are two versions of the HeatPerformance® PRO heated socks in circulation.
New version
Did you receive the socks before February 2026? Then you most likely have the old version.
Step-by-step instructions for the new versionOld version
Did you receive the socks before February 2026? Then you most likely have the old version.
Step-by-step instructions for the old versionInstructions for the new HeatPerformance® PRO version
Pairing - step by step
Step 1
Take the first sock.
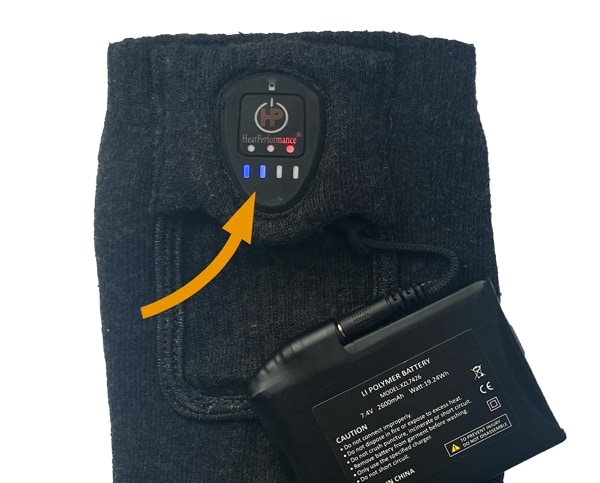
Press and hold the button on the sock while connecting the battery at the same time. The LED indicator on the sock will now flash green, orange, red and then repeat. The sock is now in pairing mode.
Step 2
Then take the second sock.
Press and hold the button on the second sock as well while connecting the battery at the same time. The LED indicator on this sock will also flash green, orange, red and then repeat. Both socks are now in pairing mode.
Step 3
Next, press any button on the remote control.
A red light will briefly appear on the remote control. This shows that the remote control is working. The socks are now paired.
Buttons on the remote control
The remote control has 4 buttons:
- on/off
- L = low setting
- L = medium setting
- H = high setting
These settings correspond to the colour shown on the sock:
- green = low setting
- orange = medium setting
- red = high setting
Switching on and off
- Do you want to switch off the socks? Press and hold the on/off button on the remote control for about 3 seconds. The socks will then switch off.
- Do you want to switch the socks on again later? Press and hold the on/off button again for about 3 seconds. The socks will then switch on again.
- You do not need to pair the remote control again afterwards. The socks and the remote control will remain paired.
Instructions for the old HeatPerformance® PRO version
Step 1
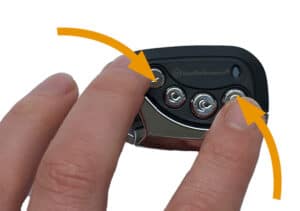
Press and hold the on/off button and the lower button on the remote control at the same time. The indicator light will now flash red, orange and green.
Step 2
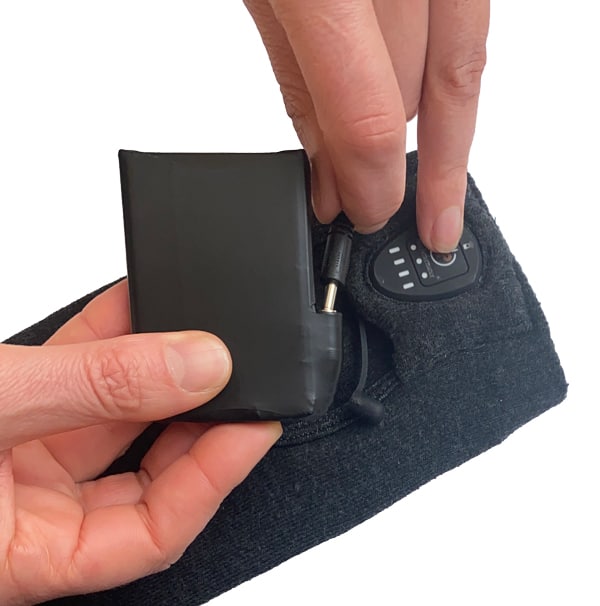
Connect the battery to the sock and at the same time press and hold the on/off button on the sock. The LED light on the sock will now also flash red, orange and green.
Step 3
Press any button on the remote control. Pairing is now complete.
Good to know
-
- Highest heat setting: red light
- Medium heat setting: orange light
- Lowest heat setting: green light
- The remote control allows you to adjust the heat settings and switch off the socks. If you switch off the socks with the remote control, the battery switches to standby mode. The battery drains slowly in this case. Using the remote control, the socks can also be switched back on from standby mode.
- Are you finished wearing the socks and want to switch them off? In that case, do not use the remote control. Instead, press and hold the button on the sock for a few seconds until the blue lights go out. The sock is now completely switched off.
- If the socks are switched off, they cannot be switched on again for safety reasons. You will therefore first need to press and hold the on/off button on the socks until the blue lights come on. After this, you can control the socks either with the remote control or by using the button on the sock. By pressing the button briefly once, you can switch between the heat settings.
- The blue lights indicate how much charge the battery has left.
Do you still have questions about pairing? You can always contact us — we are happy to help!